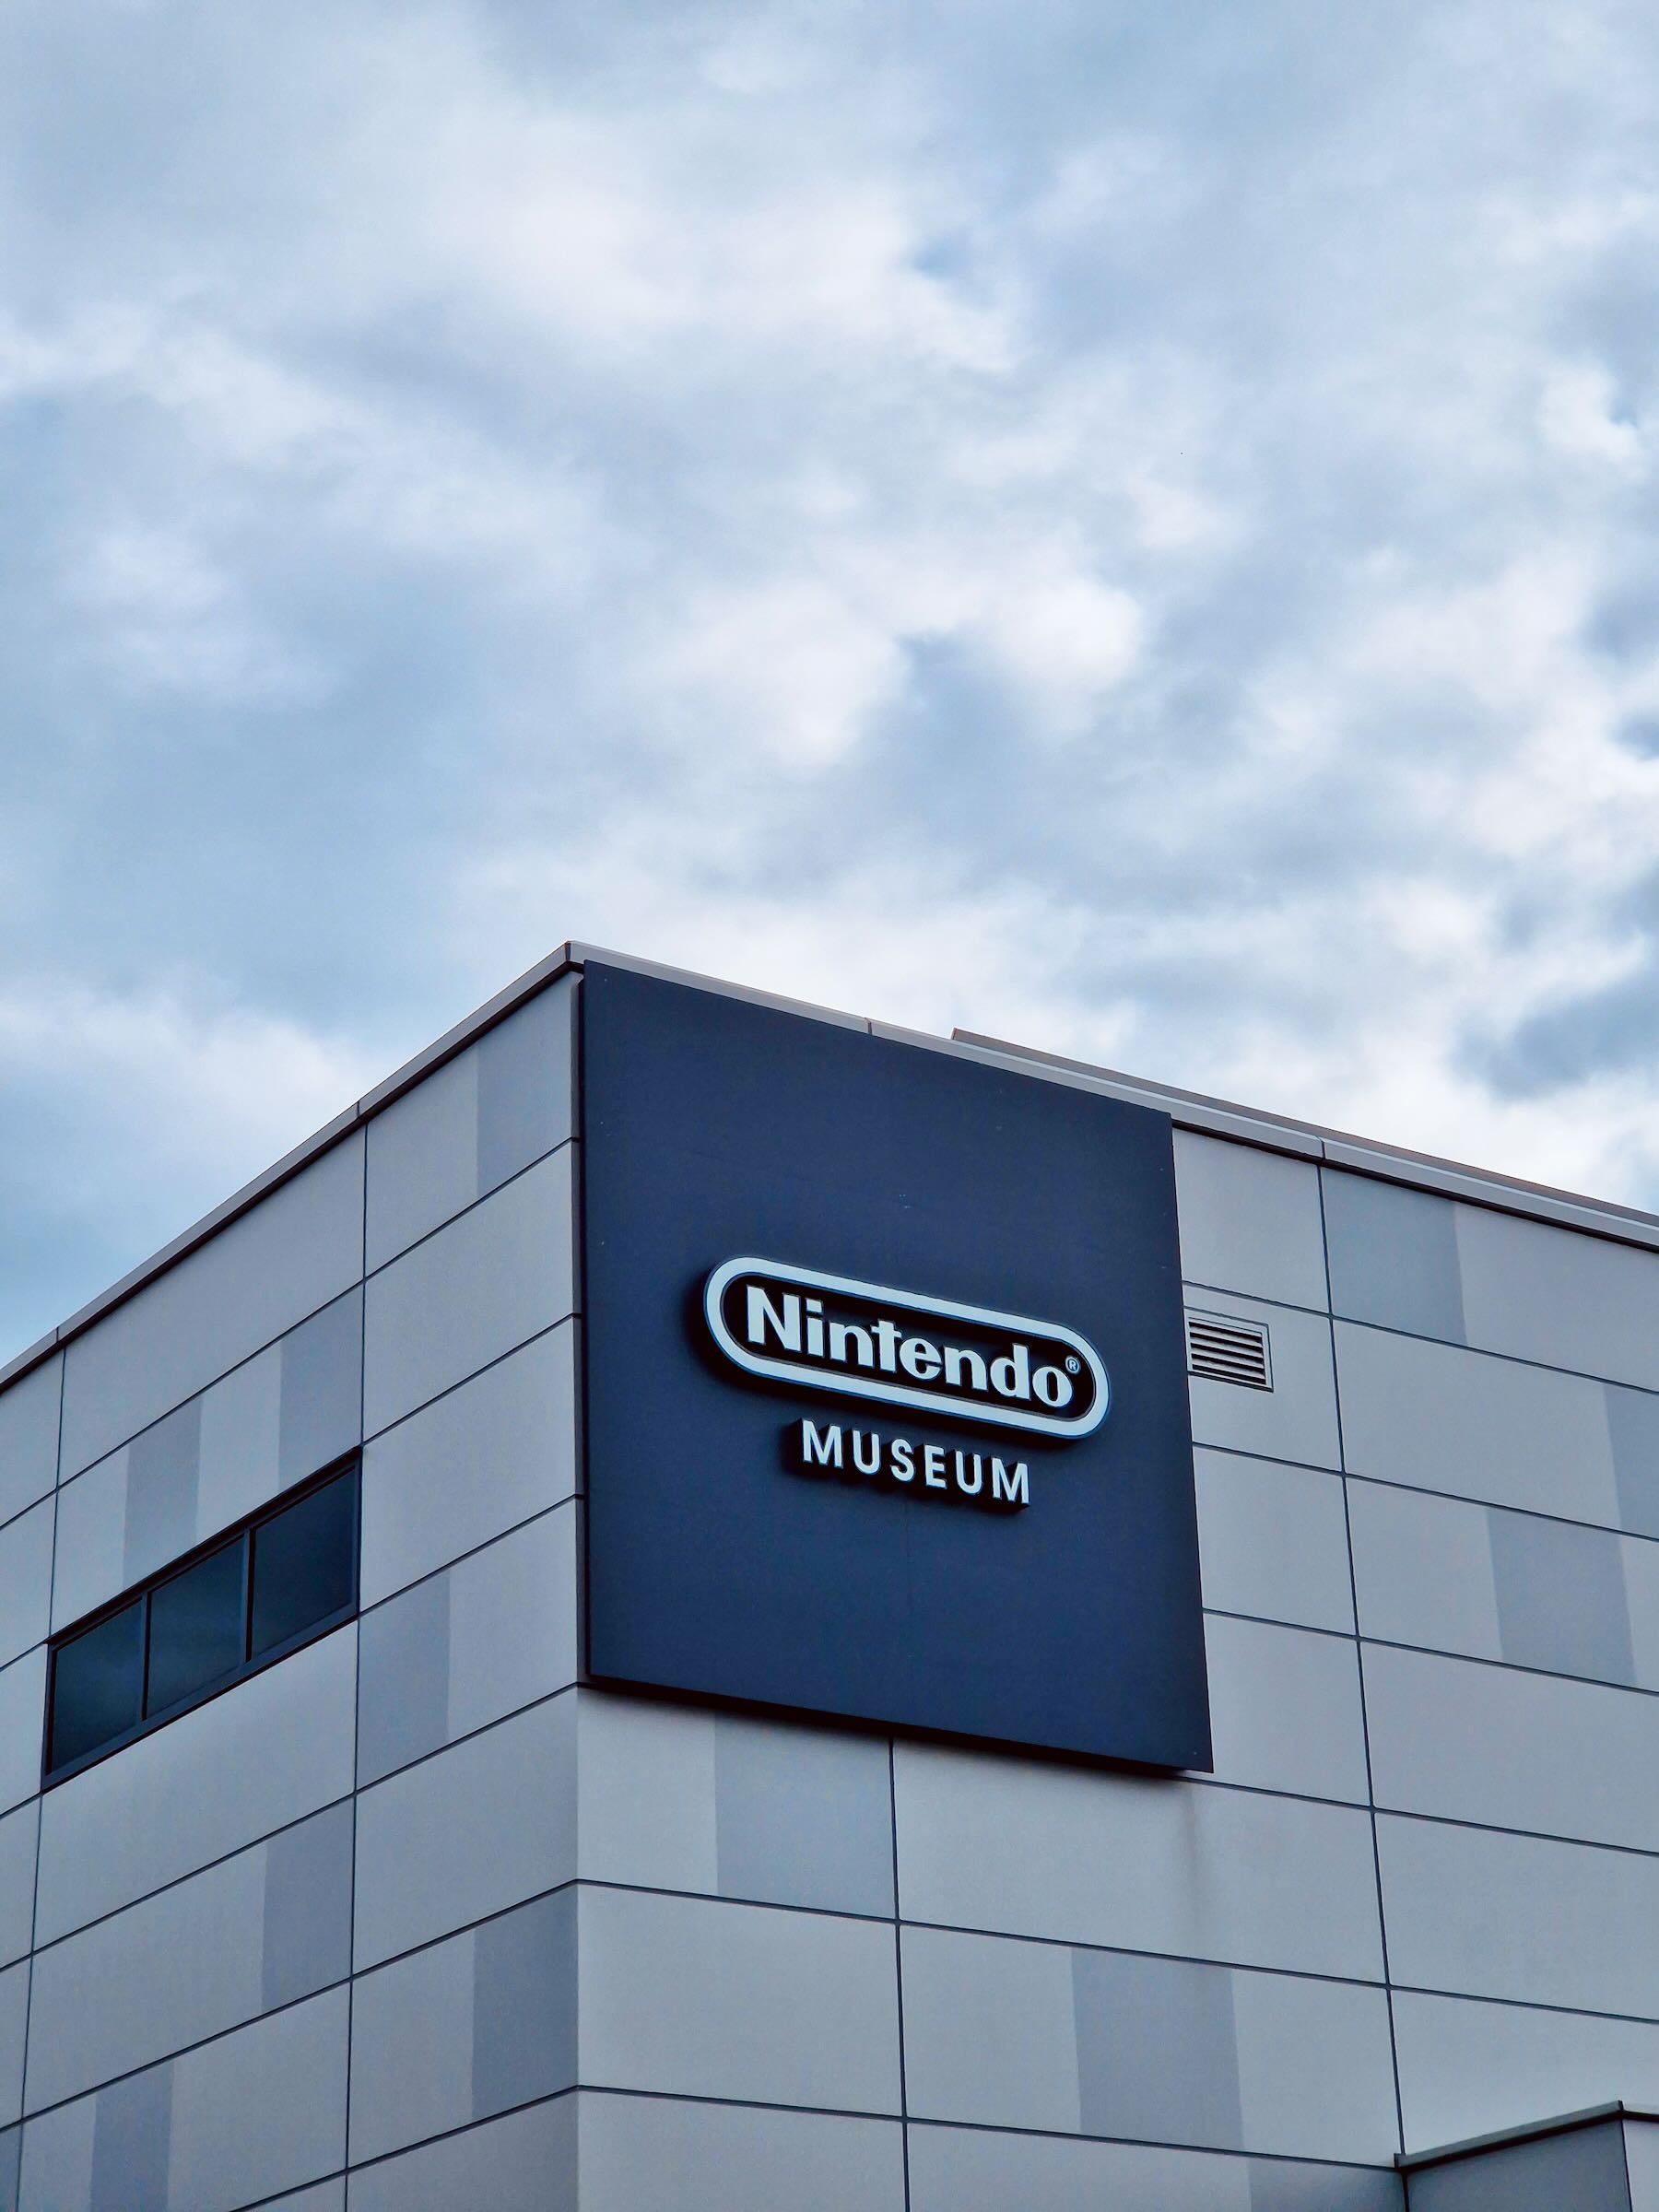
For all Nintendo fans, this is a must visit. I remember the excitement I had when I heard the news of a Nintendo Museum opening before I visited. They had transformed the former Nintendo Uji Ogura Plant, which once manufactured playing cards and Hanafuda cards, into a museum showcasing the history of Nintendo. Coming here was more of a trip down memory lane as it had played such a big part in my childhood. The original Gameboy was my very first handheld console whilst SNES was my first video game console. This is everything you need to know based on my experience whilst in Japan.
Contents [HIDE][SHOW]
What is it like?
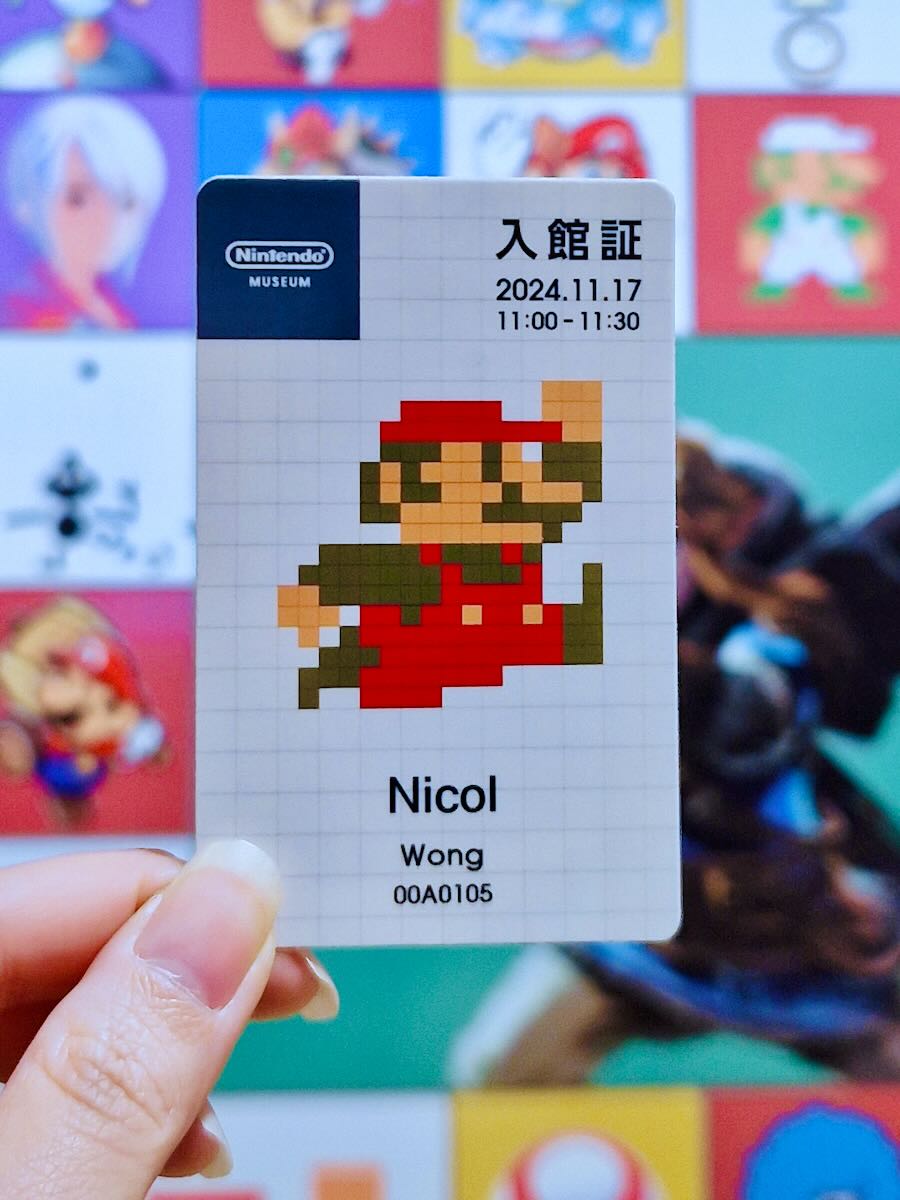
When you arrive, you need to show your QR codes and your passports. The QR codes can be assigned to individual Nintendo accounts. After a security check and then you’ll be handed your physical play ticket/card which has 10 coins to use in the interactive area. This is also used to enter the exhibit and to exit the museum so keep it safe. Your card will either have Super Mario or your Wii character which can be set in advance on your Nintendo account.
Before you enter the main building, you can explore the outdoor space and snap fun photos and videos with the Mario pipes. Additionally, there’s a cafe in the outdoor space called Hatena Burger. Inside, you will be greeted by a row of Toads where they sing when you tap their heads and there’s a library and the “Bonus Stage”, aka the store, where you can buy exclusive Nintendo Museum merch.
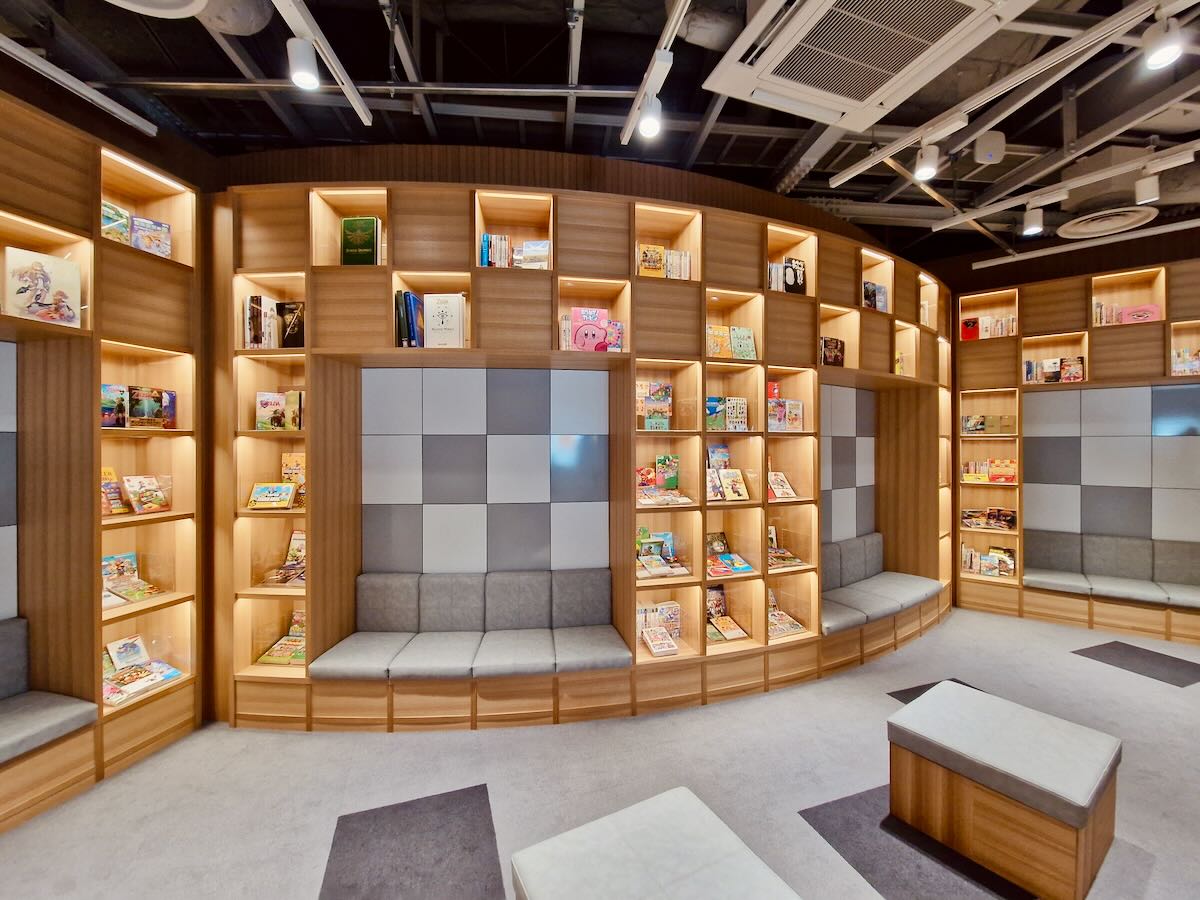
There are two Hanafuda workshops – one where you can make your own set of cards from and another where you can learn to play. If you want to do either, you’ll need to book and pay an additional fee once you’re inside.
Before entering the exhibit, you watch a short video and the staff will go through some rules in both English and Japanese. Then you’ll take an escalator to the second floor. There are stairs and lifts between the 1st (interactive area) and 2nd floor (main exhibition) so you can easily split your time. Keep an eye out for Nintendo characters dotted around the building – remember to look up and down, not just left and right.
Exhibition
When you step in, it’ll be a 360 video of Nintendo’s history. This is where you will see a collection of all of the consoles, games, accessories, prototypes, manuals, marketing, character development and more. You will see huge controllers hanging from the ceiling as they are the designated area for each console. For each console, there are the Japan and international versions of the console and games, accessories, limited edition console releases and much more. There are also screens for each console that shows a clip from different games and you can hear the sound which is isolated to each game as you move. There’s also a stand where you can see the console cut in half so you can see the inside which was cool.
One thing to keep in mind is that there isn’t much description to it but I felt that it was self explanatory as it was more of a visual exhibit. You’ll be too busy reminiscing the consoles and games you’ve played or remembered begging your parents to buy it for you but never did. You’ll also be intrigued by consoles that were before your time (e.g. Famicom and NES for me) and all things Nintendo in general. This area is a no photo zone so please respect it.
Interactive Area
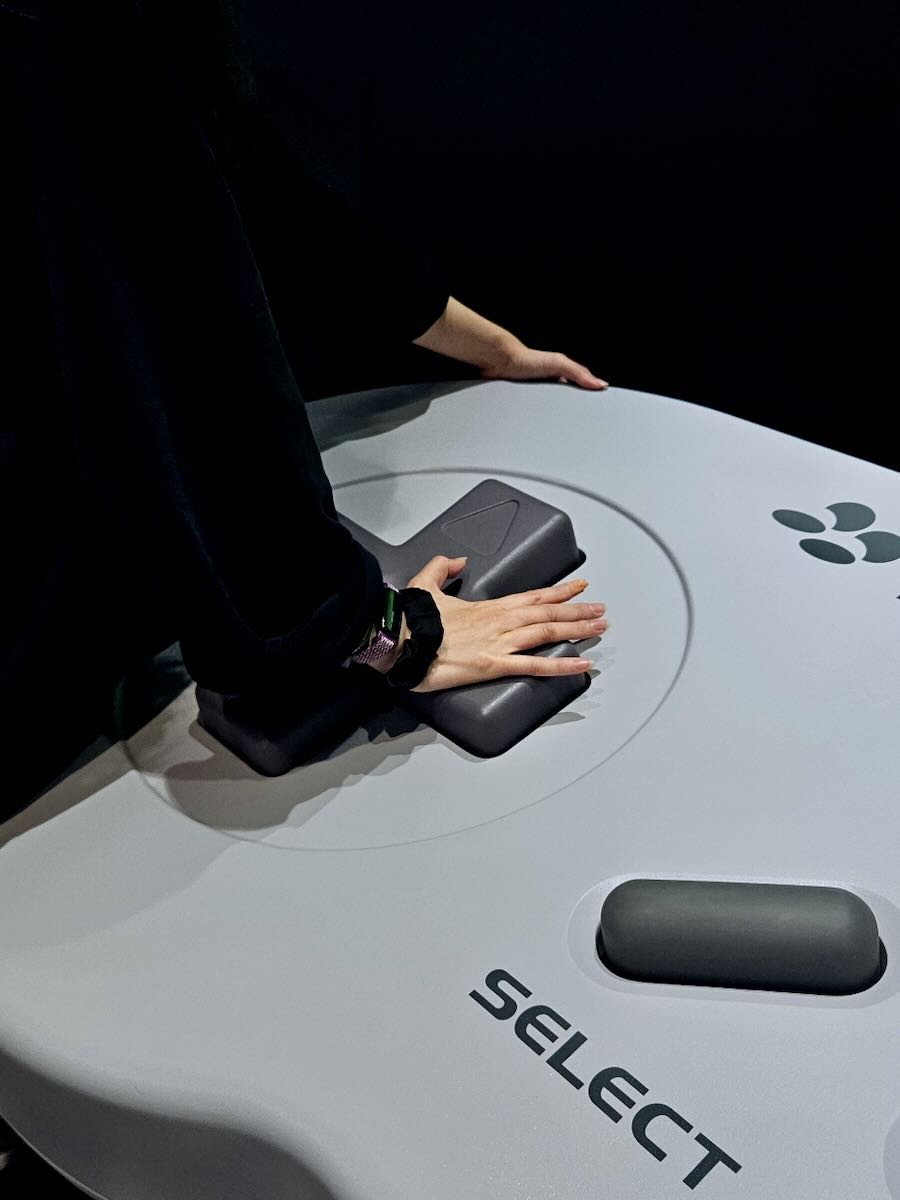
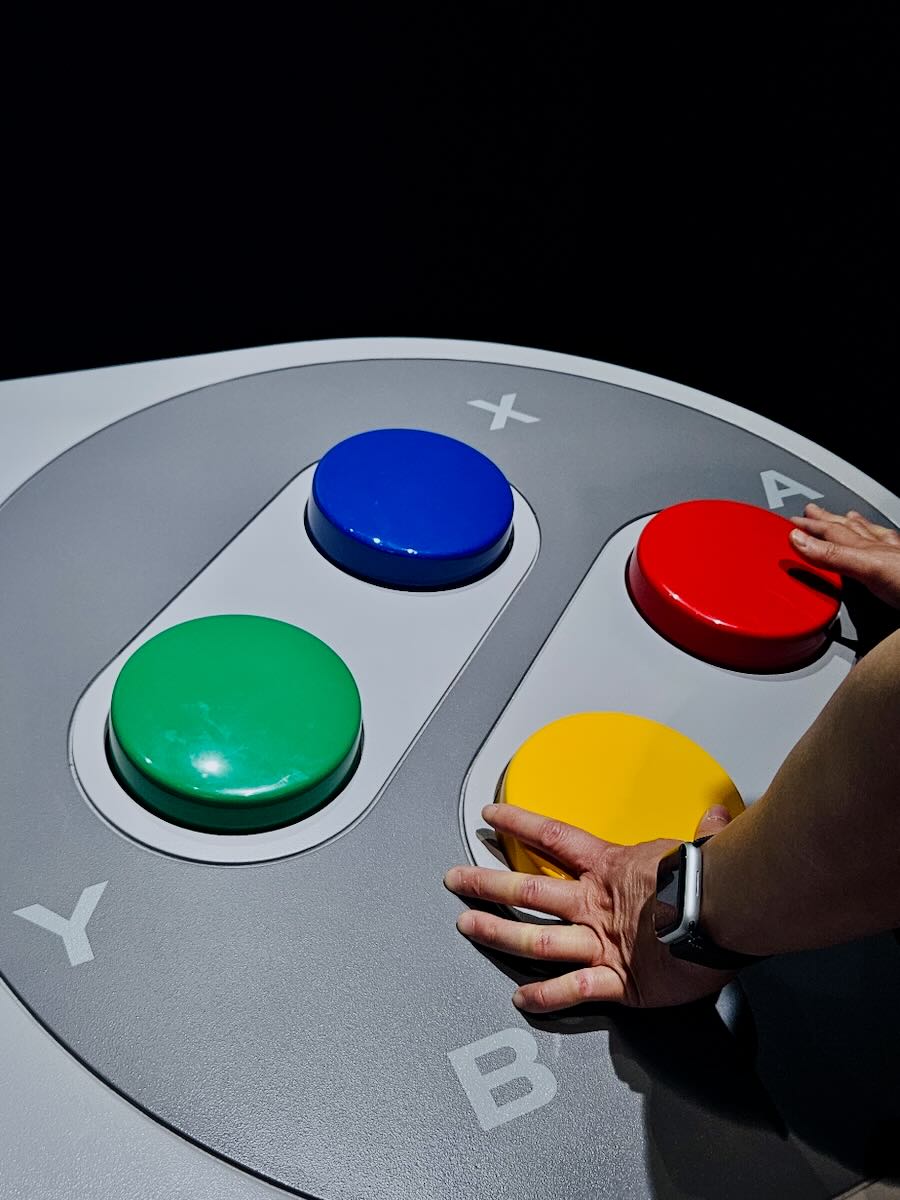
This area is on the 1st floor and can be accessed from the exhibit. With the card, you have 10 coins to spend playing different games. You can’t get any more nor can you play every game so choose wisely as the cost of play differs. The large Hanafuda interactive game takes centre stage on this floor. The most popular games are the large controllers (2 coins per controller) and Zapper & Scope SP (4 coins) so do expect a queue especially for these two sections. The longest we’ve waited was about 10 minutes for Zapper & Scope SP and the big SNES controller but keep in mind that we had the morning slot. There are also machines dotted around to check how many coins you have left.
With the big controllers, some allowed you to select between two games. We selected Mario Kart on the SNES and for the Wii, there were two controllers, each set to a different game so you couldn’t select the game like the others. We chose the Wii controller for Wii Sports Resort.
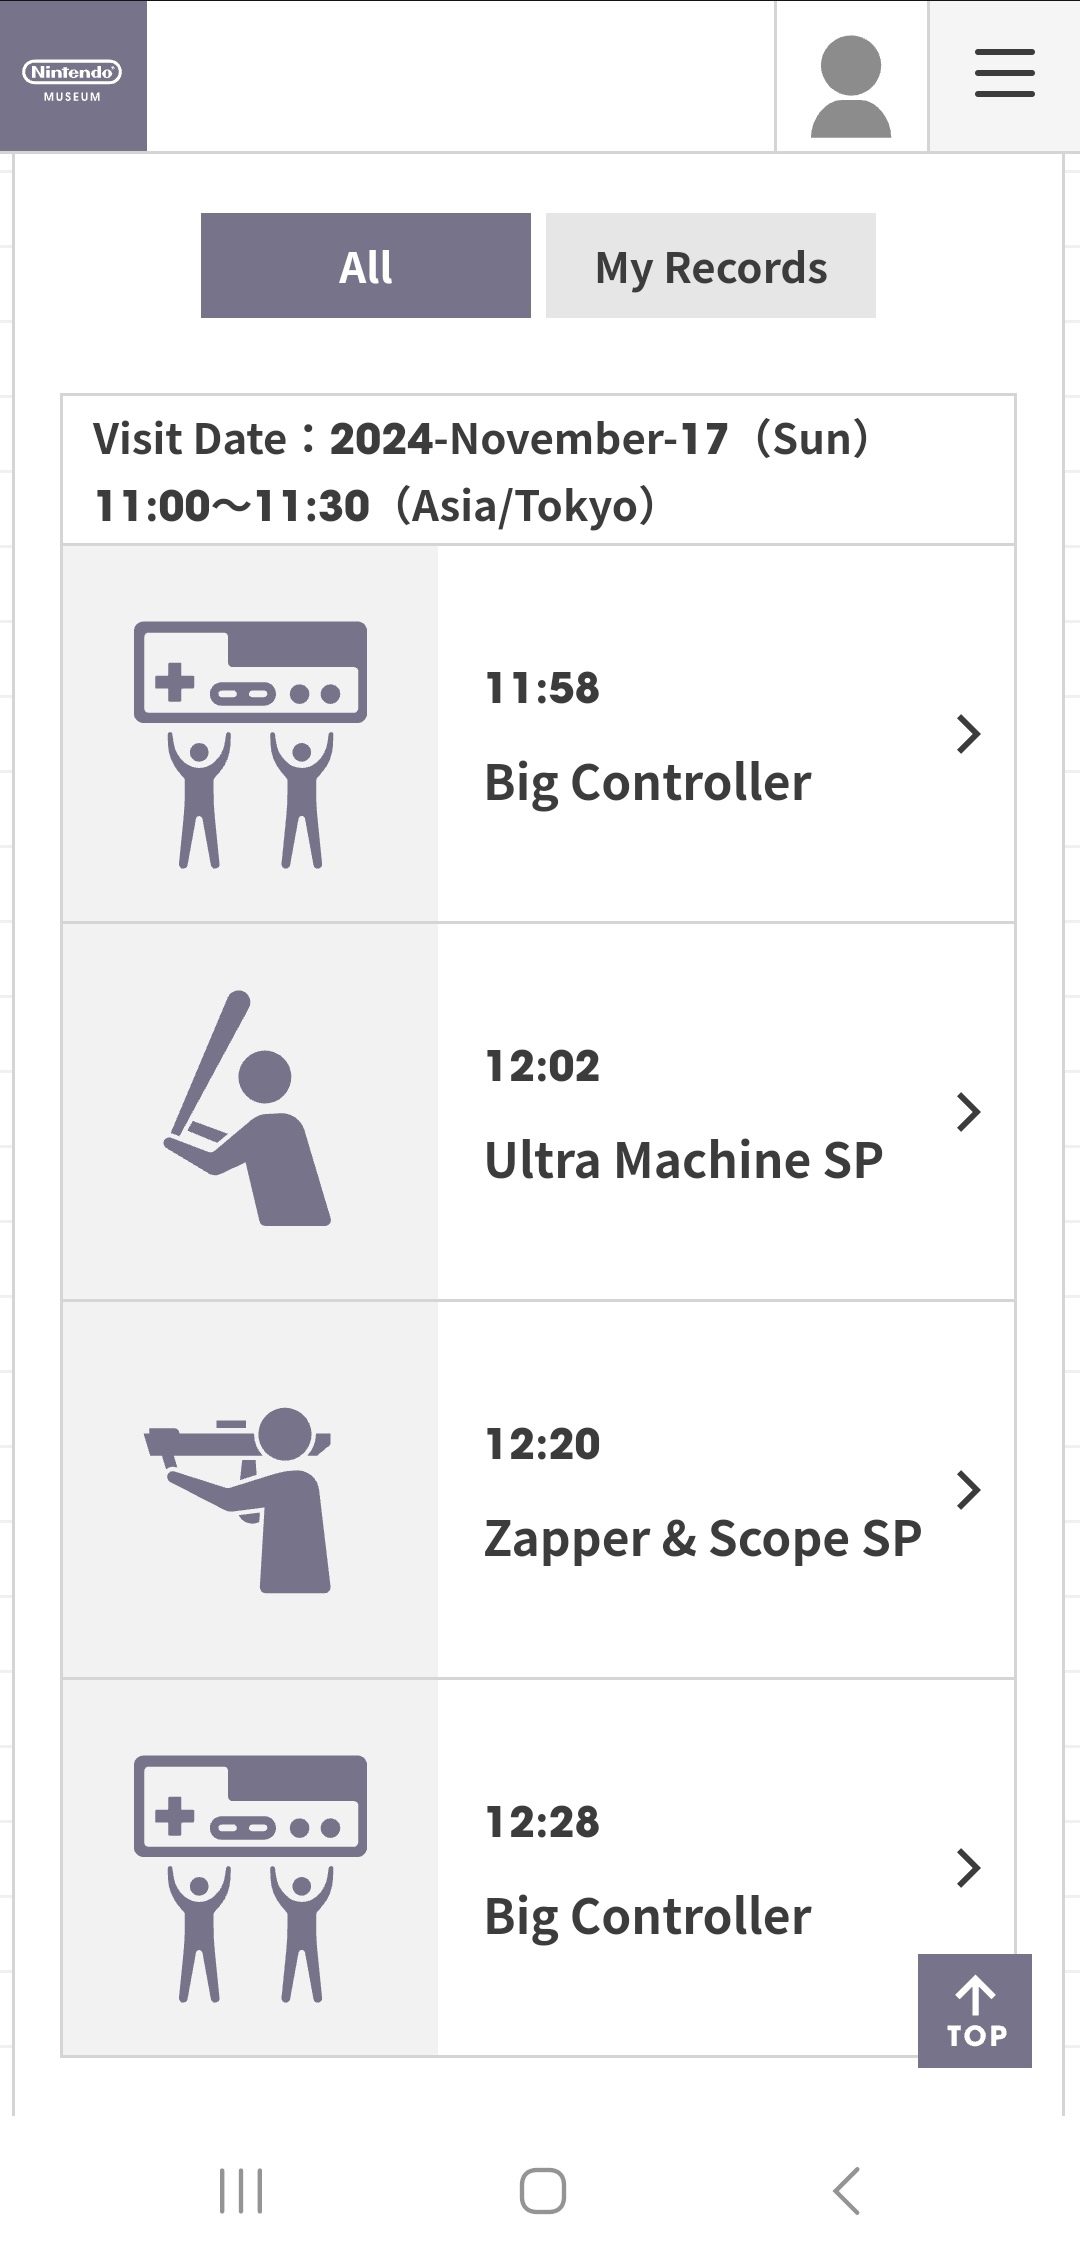

The coolest part is, that when the QR code is assigned to your account, you can track your game history, check your scores and also download commemorative photos taken whilst you play. If the QR codes aren’t assigned, only the ticket purchaser can access these on your behalf. Photos are only stored for 30 days so download them asap.
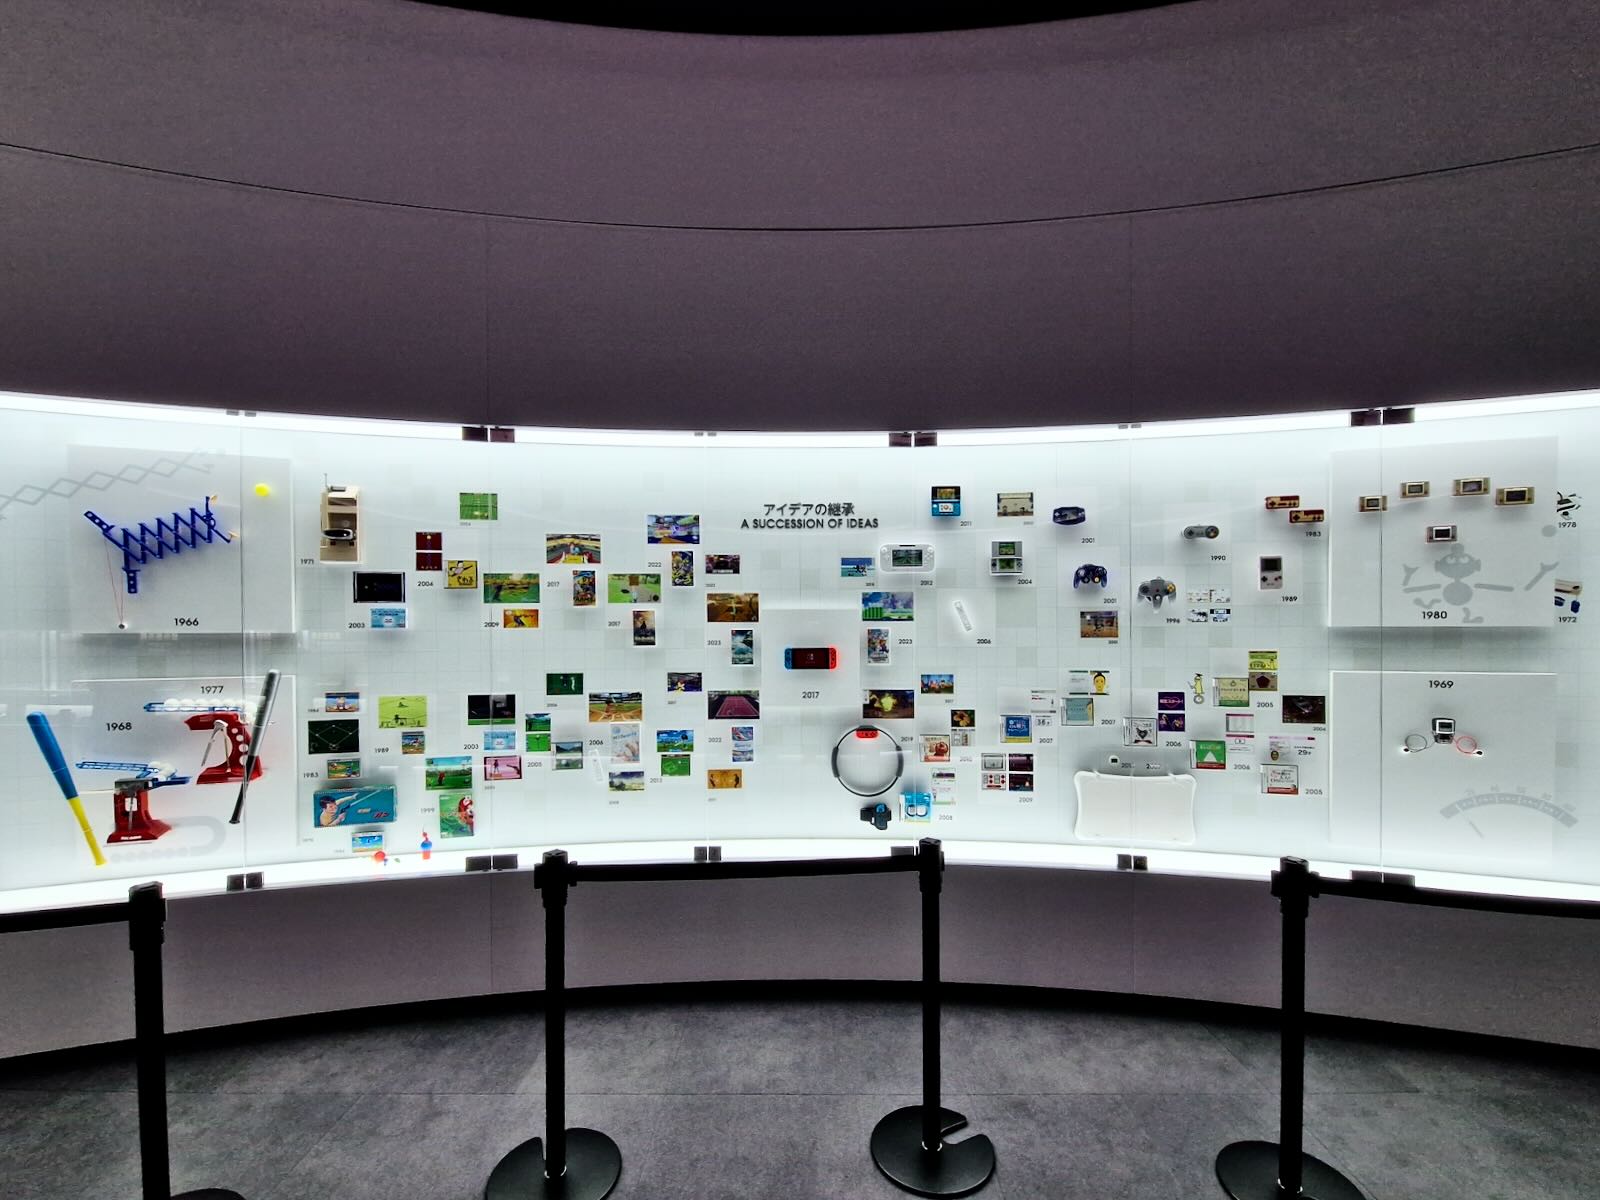
There are also some additional exhibits to see – some you can take photos whilst others you cannot.
Store
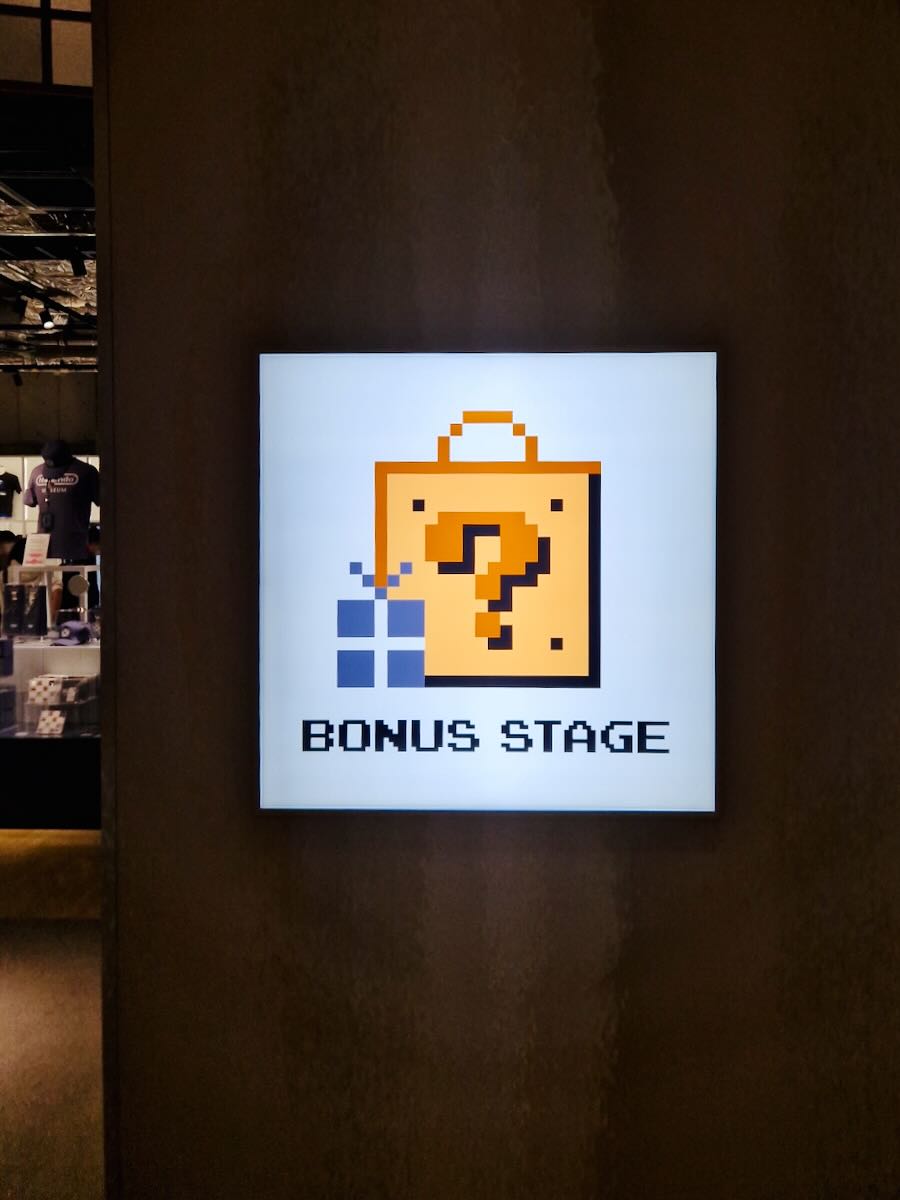
The store sells Nintendo Museum exclusive items which are only available here and not in any other stores or online. You can easily be differentiate it by the purple Nintendo Museum tag. Some items, like the big controllers (¥11,000-¥13,200) and blind box keychains (¥1,320), are limited to 1 per person.
There are sections for every console so you can purchase merchandise from your favourite ones, like t-shirts, pins, stationery, mugs, stickers etc. In my case, it was all about the Gameboy and SNES. There are also character themed items (though not all) and other official Nintendo Museum goodies. I left with two big bags which included the large SNES controller. I had to put some items back on the shelf before paying as I did grab everything I liked.
Hatena Burger
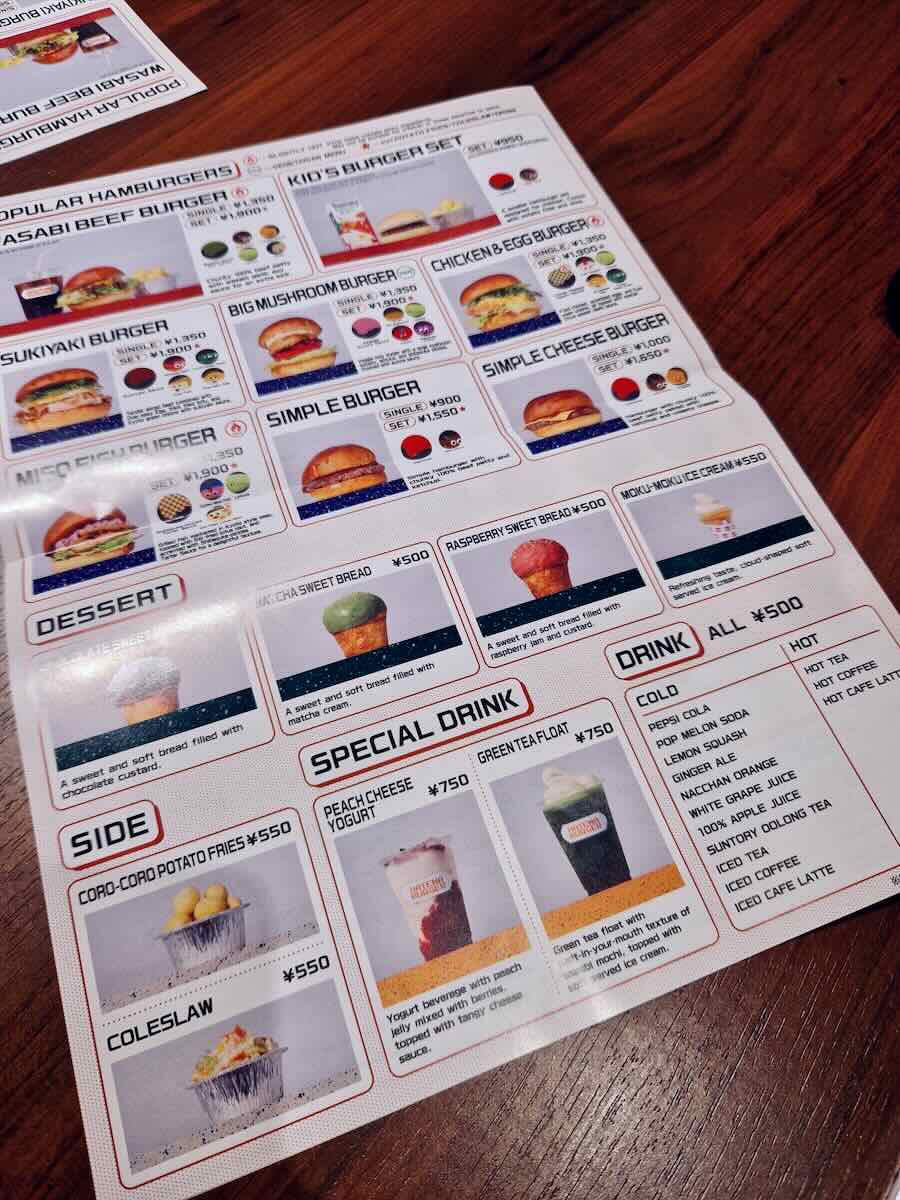
Hatena Burger is the museum’s only cafe and is exclusive to ticket holders. It is located next to the main building and as the name suggests, they do indeed serve burgers. You can choose to order pre-made burgers or customise your own, along with combo sets, add sides, desserts and special drinks. To order, scan the QR code at your table, head to the register to pay then wait for your number to be called to collect your order.
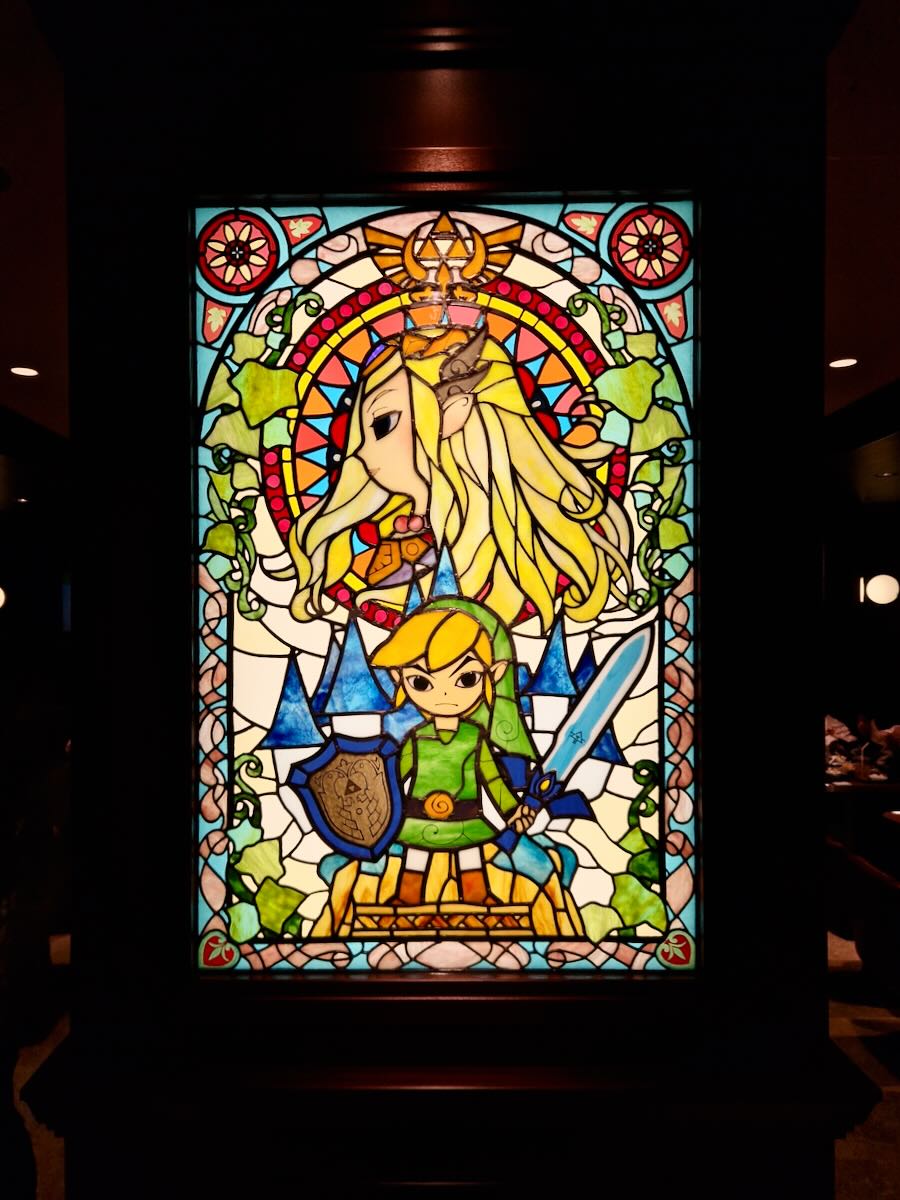
I ordered the chicken and egg burger, coro-coro potato fries, matcha sweet bread and the green tea float. Let’s say it was just average and isn’t a must go. Don’t set your expectations high if you decide to pop in. Don’t forget to check out the interiors as you’ll encounter a Zelda glass stained window.
Getting Tickets
The museum has a lottery ticket system where you can purchase the tickets if you’re selected – it’s all random. If you’re hoping to get your hands on these tickets, here’s what you need to know:
You need a Nintendo account to enter and purchase the tickets.
The draw opens 3 months before your visit. To enter, You would choose 3 dates and time slots (it can be 3 different times on the same day or spread across different days) and these will be your first, second and third choices. Once selected, you would state how many tickets you wish to get (maximum of 8 tickets per person) and enter everyone’s details. The name you enter must match the name on the passport.
The draw occurs on the 1st of the following month and you’ll know whether you were successful or not via email. If you were one of the lucky ones, you’ll have a designated entry time and date based on what you have selected and have two weeks to purchase them. After that, any unclaimed tickets will go on general sale. If you weren’t successful, there still is a chance to get tickets on a first come first served basis for any unclaimed tickets and cancellations, but you’ll need to be quick.
When you buy your tickets, you’ll need to verify your number first before payment. If you have a UK phone number, make sure you include the “0” when entering your number, along with the country code, +44, e.g.+4407xxxxxxxxx. If you don’t include the 0, you might not be able to verify meaning you could lose your tickets. You’ll know the verification had worked when the call hangs up and the screen updates to the payment page.
For our November trip, we each applied in August, the draw happened on 1st September, and only one out of four of us was successful (not me). The probability of getting tickets will be higher if you have more people in your group.
Prices
Adult: ¥3,300
Youth (12-17 years old): ¥2,200
Child (6-11 years old): ¥1,100
Preschooler (5 and younger): Free
How to get there
It is located in Uji, Kyoto, a small city known for matcha and is easy to get to. The best way is to get a direct train on two specific lines from Kyoto station.
- Getting on the Kintetsu Railway Kyoto Line to Ogura Station then a 5 minute walk. Total journey time is around 25 minutes from Kyoto station, or
- Getting on the JR Nara Line to JR Ogura Station then an 8 minute walk. Total journey time is around 35 minutes from Kyoto station.
It’s easier to get there from Kyoto than Osaka. If you are planning to start from Osaka, do allow at least an hour of travel time.
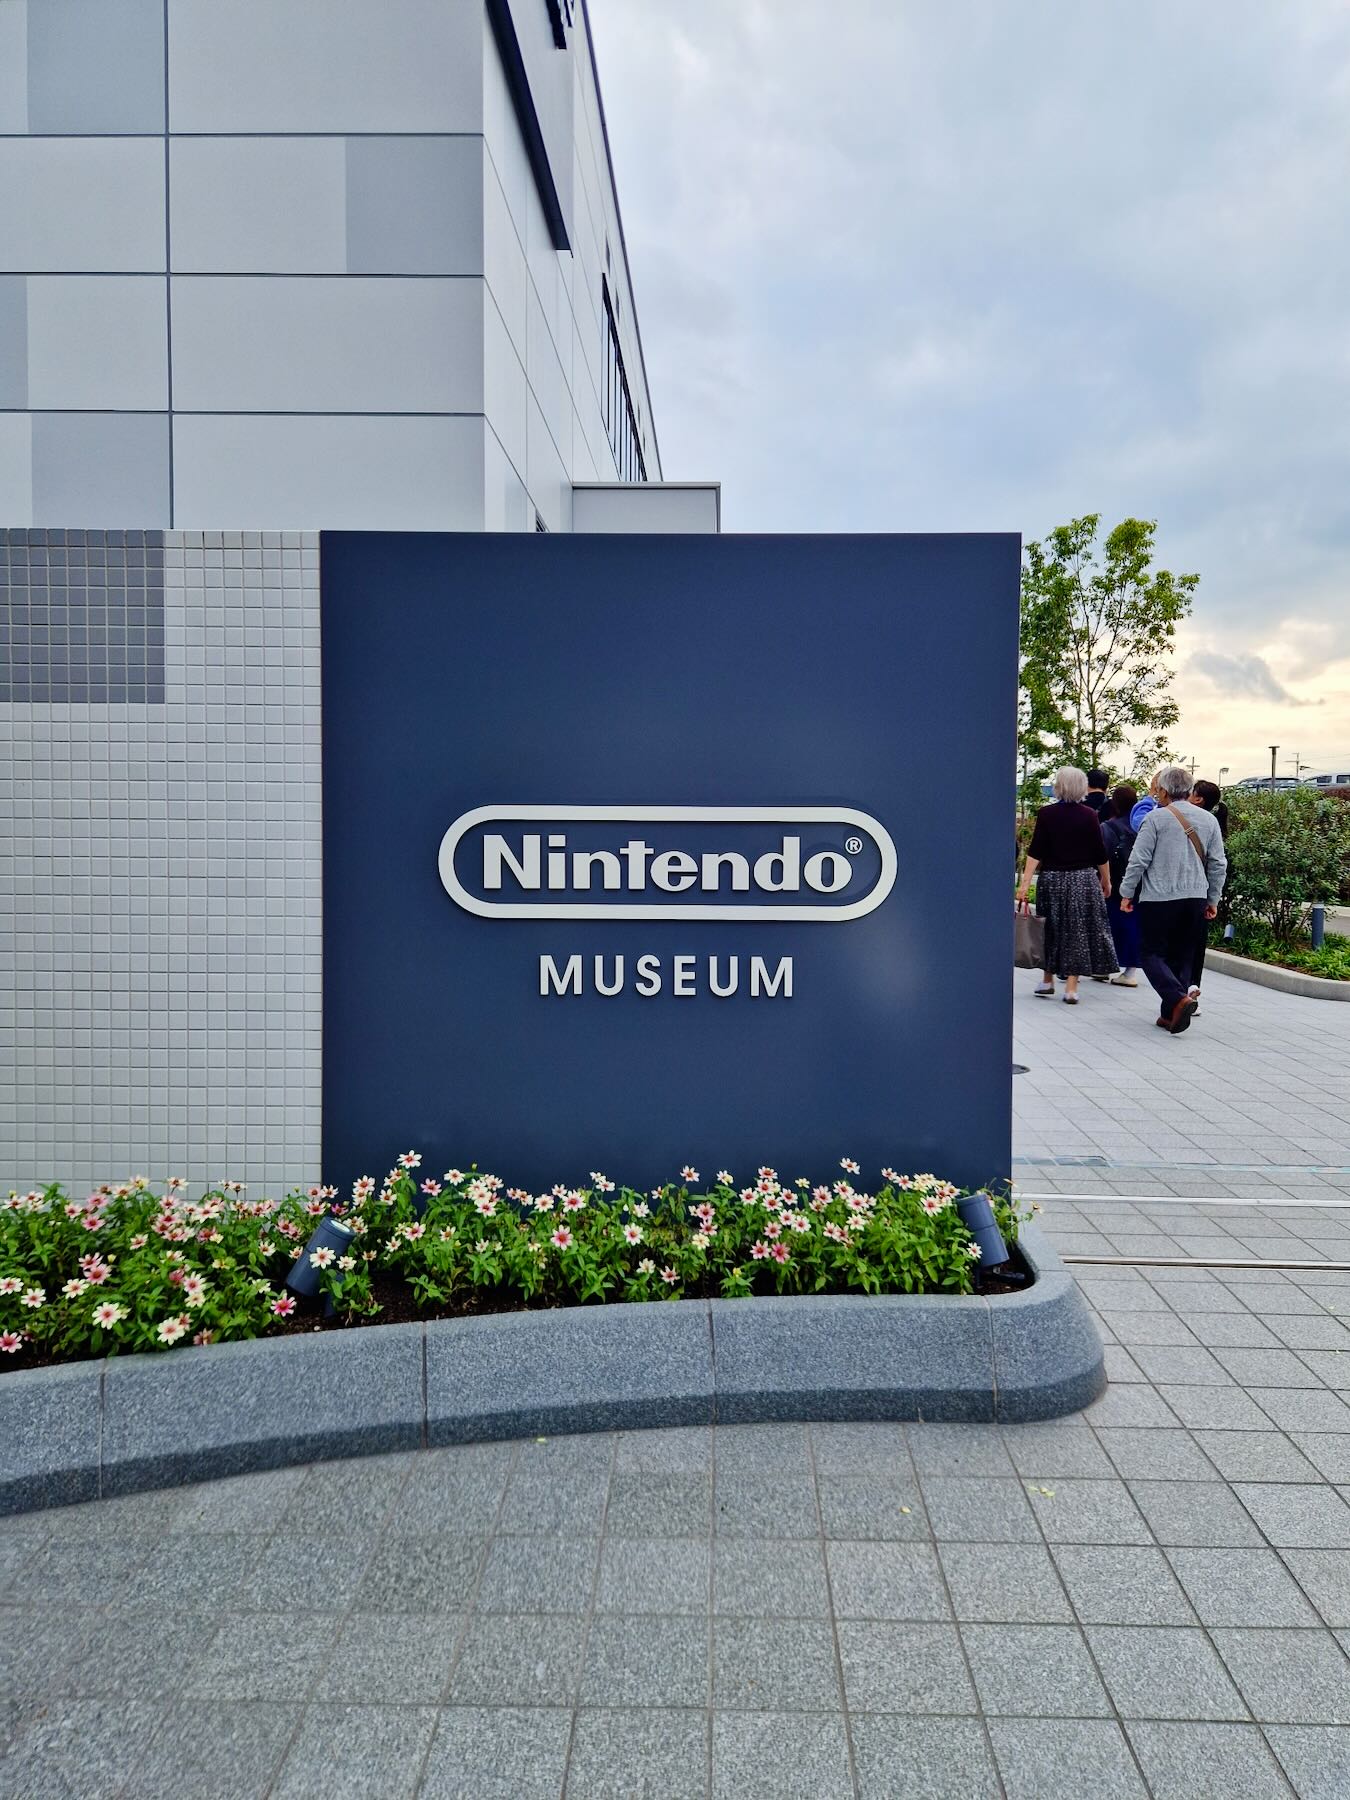
Nintendo Museum
56 Kaguraden, Ogura-cho
Uji-shi, Kyoto
611-0042
ニンテンドーミュージアム
〒611-0042 京都府宇治市小倉町神楽田56番地
Nearest Train Stations
Ogura Station (Kintetsu Railway Kyoto Line)
JR Ogura Station (JR Nara Line)
Map: Google
Website: https://museum.nintendo.com
Tips
- Choose an early time slot and plan for at least 2 hours so plan your day itinerary accordingly. Afternoon is busy with longer queues and wait times.
- Try not to bring a lot of bags/luggage with you. There are small coin lockers and large storage areas but they are limited. Also, the security check is like an airport.
- Large controller plushes sell out by early afternoon, so buy them and other merchandise first, then head to the exhibition. You can carry your purchases around with you. By 2pm, most plushes were sold out, except for the N64.
- A compression packing cube will be your best friend when taking the controller back home.
- Visit the interactive area first, then the exhibition to avoid crowds later.
- Plan how you want to use your 10 coins in the interactive zone in advance.
- Consider eating before arriving at the museum, as nearby food options are limited and may not suit your taste.
Pin for Later

下一篇