24 CARAT
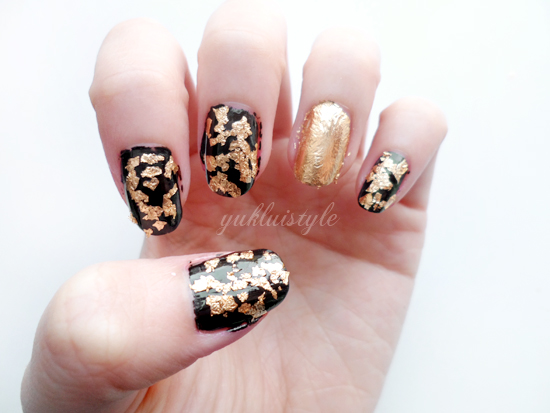
We’ve all seen those top coat nail polishes that contains gold leaf and how gorgeous do they look. But the price is out of my range and I can’t imagine spending that much on a nail polish. So here is a tutorial of a doing your own gold leaf manicure without the high price tag in two different styles.
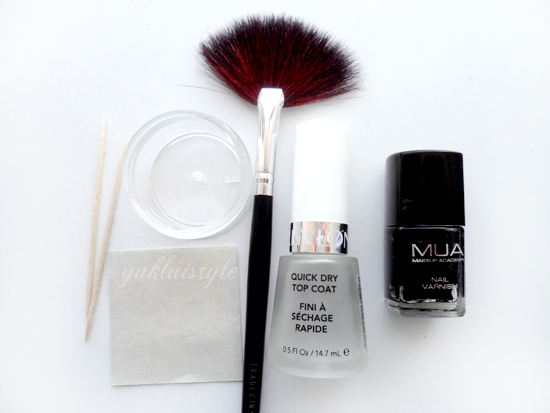
Tools needed:
Toothpicks
Small jar
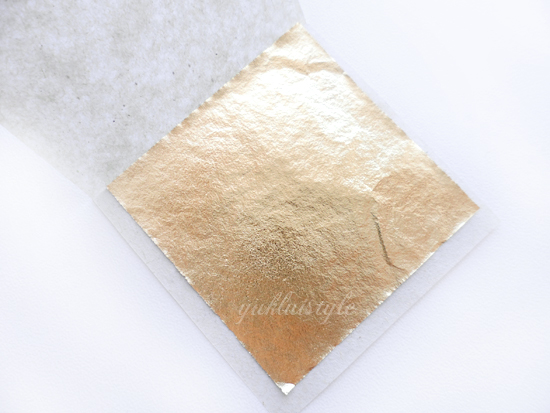
Gold leaf sheets (eBay)
Fan brush or fluffy brush
Nail polish and topcoat
Nail file (not pictured)
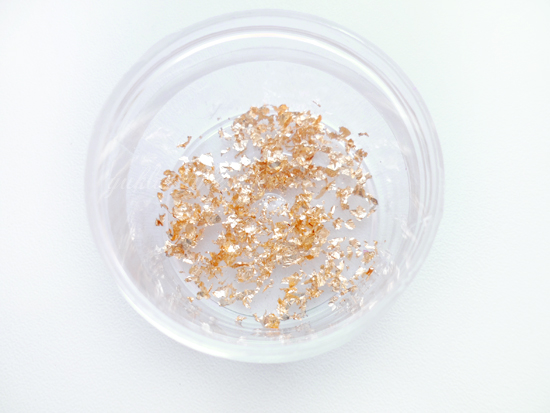
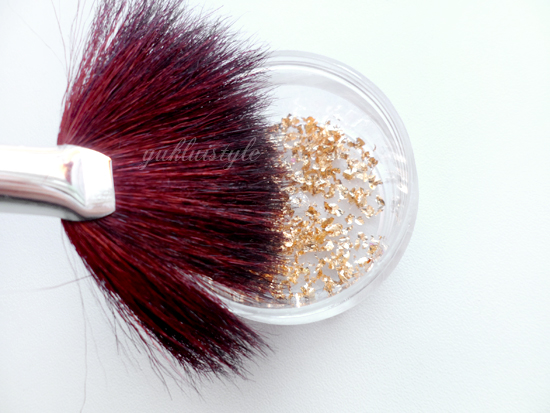
1. With your gold leaf sheet, transfer it over to the small jar and use the toothpicks to tear it up into fine pieces, fine enough for it to be placed onto your nails. You don’t want the tears to be accurate or precise, natural is the way to go.
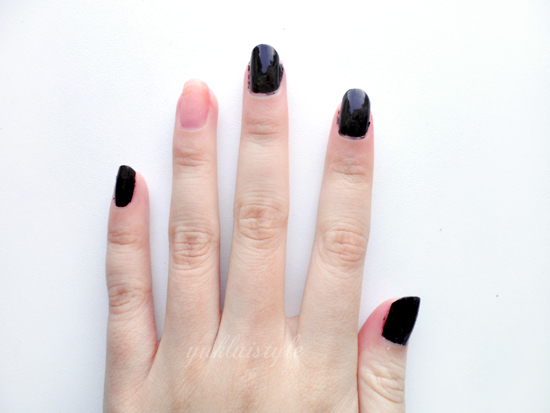
2. Paint your nails one at a time. PAINT ONE NAIL THEN MOVE ONTO STEP 3. I had learnt it the hard way. I had left the accent nail out to demonstrate another gold leaf technique.
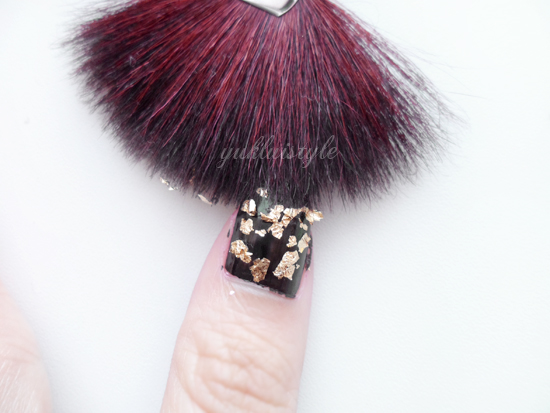
3. When the nail is nearly dried, dip the brush into the jar to collect some gold pieces and press it onto the nail. Keep dipping and adding more gold pieces onto the nail until you’re happy with it. Use your finger to press it fully down so any folds etc are flattened down.
4. Then add a top coat to seal. Repeat 2, 3 and 4 on the rest of nails.
5. On your accent nail, paint it with the top coat.
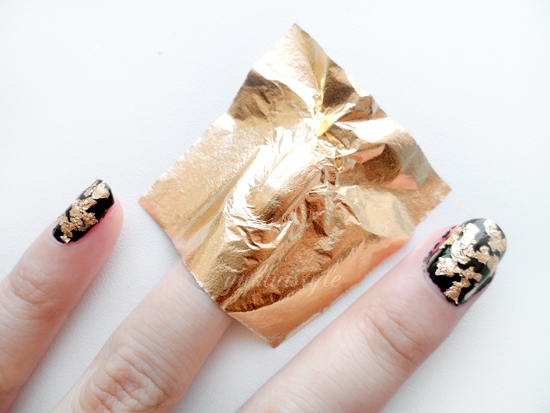
6. Add the gold leaf straight away and press it down fully on the nail. Press it down onto all areas of the nail. You need to make sure all of the nail is covered. If a part isn’t sticking down, add a bit of top coat on the nail then press the sheet down.
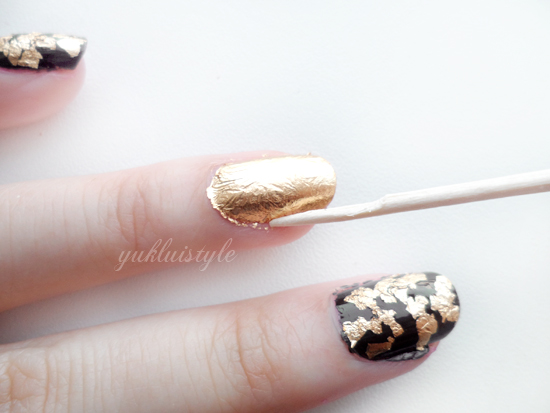
7. Wait for around 5 minutes so it fully dried. (I kind of got carried away with this so I don’t have the photo of removing the excess but this photo shows how I have done it, along with the explanation). With the toothpick, gently add pressure to the edge of the nail, adding a bit more pressure on the tip until you can see the sheet splitting. Keep doing this along the two sides and on the cuticles. You can gently rip the excess off leaving a bit of excess on the top of the nail. For the top of the nail, fold the sheet down and press it against the edge so you get a nice fold and dent. Use a nail file to file it off.
8. Top coat seal and you are done!
Sorry for step 7 being explained unwell. This is day 2 of me wearing this manicure and the gold leaf on top of the colour is surviving well. It hasn’t budged. The full gold leaf nail is doing a lot better than I had expected. A little bit on the cuticle edge as been removed but not very noticeable. Another top coat would do!


WOW what a lovely tutorial, just discovered your blog via twitter, following you on like everything!!!
Beautiful nails! Black and gold is such a pretty combination.
Stars Aligned
So glamorous hun, absolute love this!
LIVE . IN . LOVE ✞
~
Beautiful! I have some gold leaf flakes, I will have to remember your fab tutorial and have a go at this!
Thank you so much for sharing!
Perfect for the Christmas Party season!! Will have to attempt this soon 🙂 xx
Kayspray.blogspot.co.uk
Wow this is a great idea, I love working with gold leave and decorate frames with it but never thought to put it on my nails, thanks so much for sharing, going to have to try this 🙂
Laura x
http://www.sidestreetstyle.com
Really nice tutorial
http://www.lookwhatigot.co.uk
Stunning! This is kind of perfect for the holidays actually. Now I need to find some gold leaf sheets!
Quick question babe, if you press down on the gold leaf, wouldn't that leave an imprint of your thumbprint?
this looks so pretty!
http://britishmermaid.blogspot.co.uk
love this nail look.. so pretty! x
Ahhh so pretty!!! Looks great.
Helen X
http://www.allthebeautifulthings.co.uk
Oh these nails are fabulous, thanks so much for sharing lovely!
Elizabeth x
Wow this looks stunning, I especially love the accent nail! Great tutorial, thanks for sharing 🙂
Jess xo
Oh this is amazing for the Christmas/New Year's Eve!
Your nails are super pretty ;___; <3
Please take care, have a nice day!*
beauty-with-love.blogspot.com
Great job with this look! I never would have guessed that it could be so easy; I would have definitely assumed that it would be too hard for me to ever attempt. Thank you so much for sharing! 🙂
wow!! love love love this!! I wonder where I can get gold sheets..hmmm..thanks for sharing!
Love this! Great for the holidays!
xo
Janelle
That nail polish art looks like it's worth a thousand bucks! great job! I saw similar polishes with flakes like that, and yours actually look better! 😀 gig love – Kumiko Mae, Filipina Beauty Blogger, LovingSunshine Philippines
I LOVE THIS. Didn't realise gold leaf sheets are as cheap as they are! This looks so luxe and perfect for upcoming Christmas.
Jade | JadeFungBlog
I have to look into getting this for myself. Thanks so much for sharing! GIGLOVE
this so much interesting, easy to follow and the result is so pretty, thanks for this dear. GigLove
i actually like the full colored nails hehe probably because the print pattern is too hard for me haha ~giglove
Your nails look beautiful!
xx
http://www.forevermissvanity.com
it is glittery mani… i think now i can try this too
GIGlove
I've already seen once this sort of tutorial. It's pretty amazing how creative people are talking about nails :). I think I'll never be able to do something like that.
xxx
mari
That looks wicked! Love it xx
what an awesome mani! i love gold and black together!
Jenn
A Beautiful Zen